The SSO Server, In the DualShield platform, all web consoles and portals, including the Admin Console and Self-Service Console, Deployment Service, Reset Password Service Unlock Account Service and Emergency Access Service all provide user interfaces via web portals that can be customised if required.
In versions 6.x of the DualShield Authentication Server portals are customised using features built in to the management console and accessed by navigating to "Customisation | User Interface";

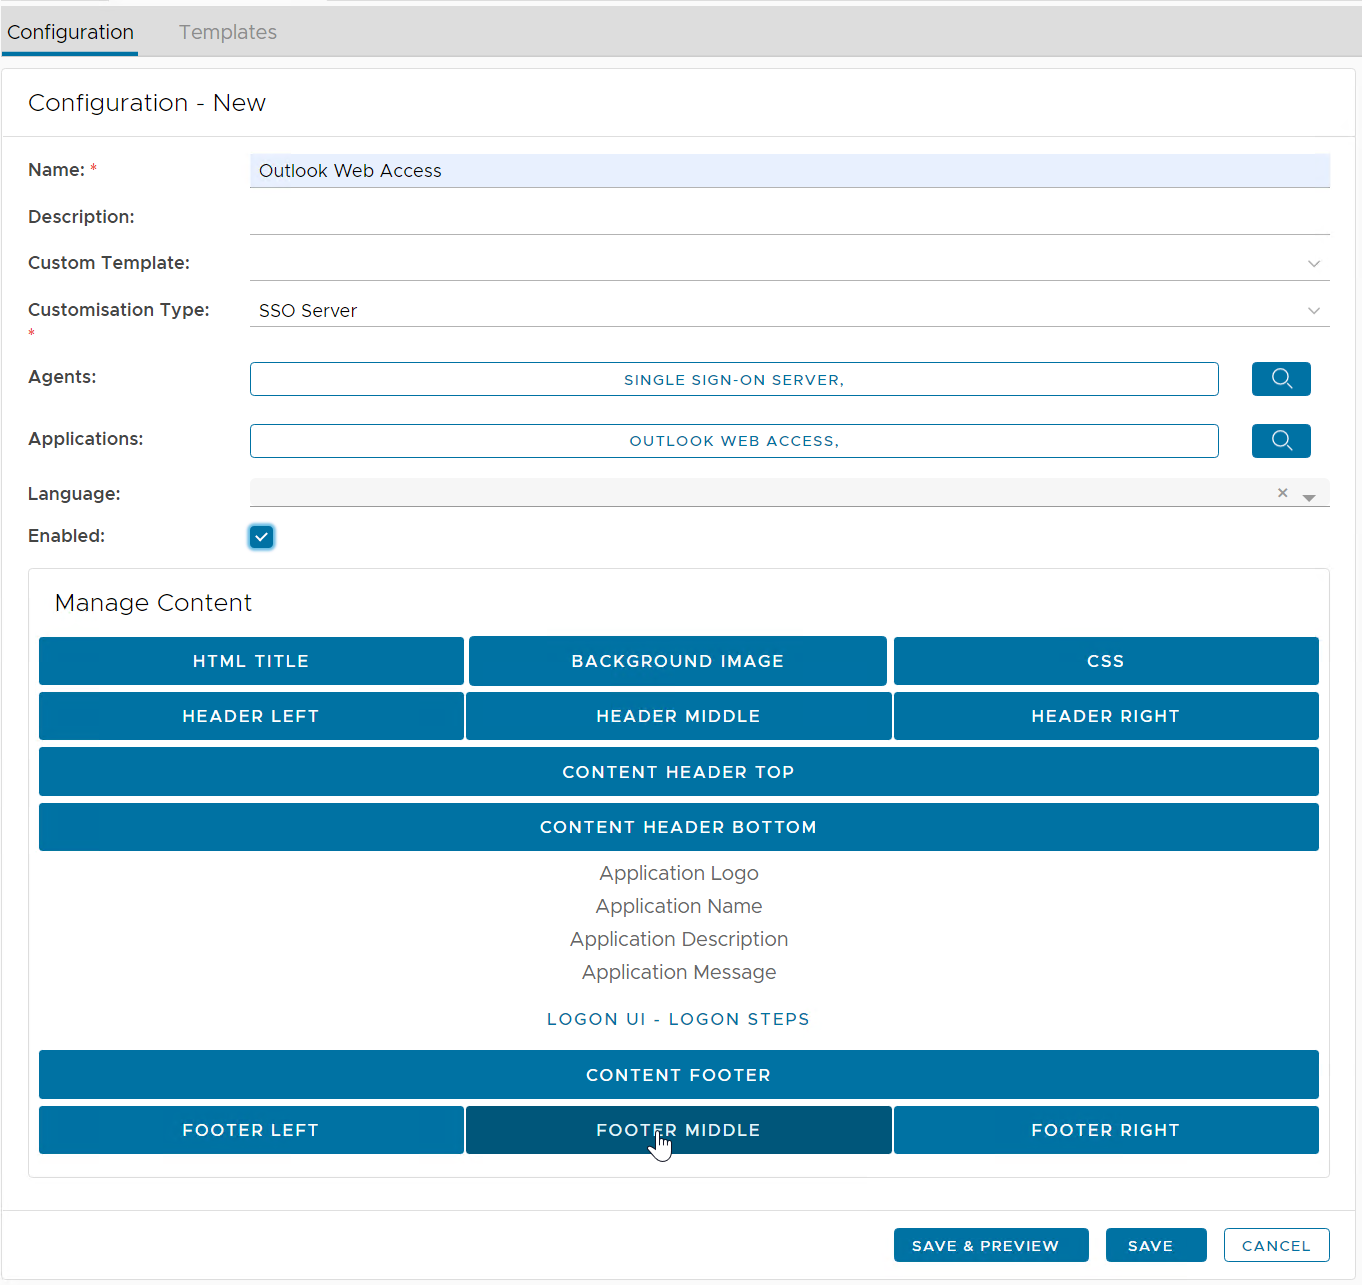
Before you can customise sections of the portal you will need to create a new configuration. This is done by selecting the tab "Configuration" then clicking on the "New" button;

Once the "Create" button has been pressed you will be presented with a page that will allow you to customise one of the available portals;

At the prompts "Name:" and "Description:" provide text that relates to the customisation you are about to perform, then at the prompt "Customisation Type:" select which portal is to be customised, then at the prompts "Agents:" and "Applications" click on the search icons (see arrow in the picture above), then select the agent and application that matches your selected customisation type;
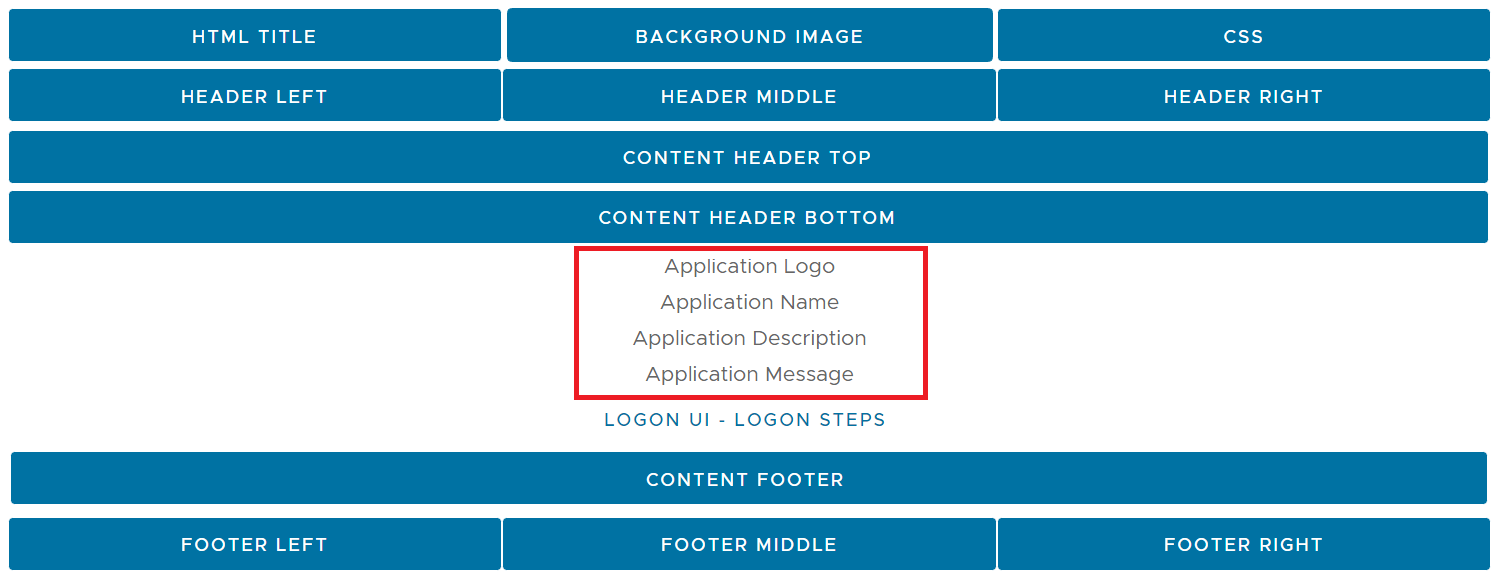
You can now prepare the customisations using the section headed "Manage Content";

The blue buttons above indicate which sections of the web portal may be customised.
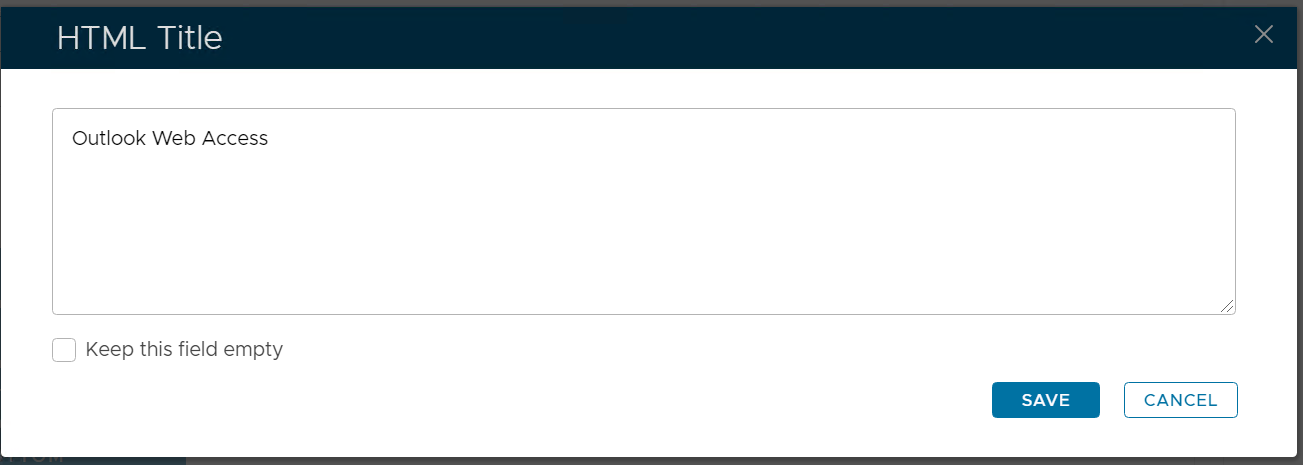
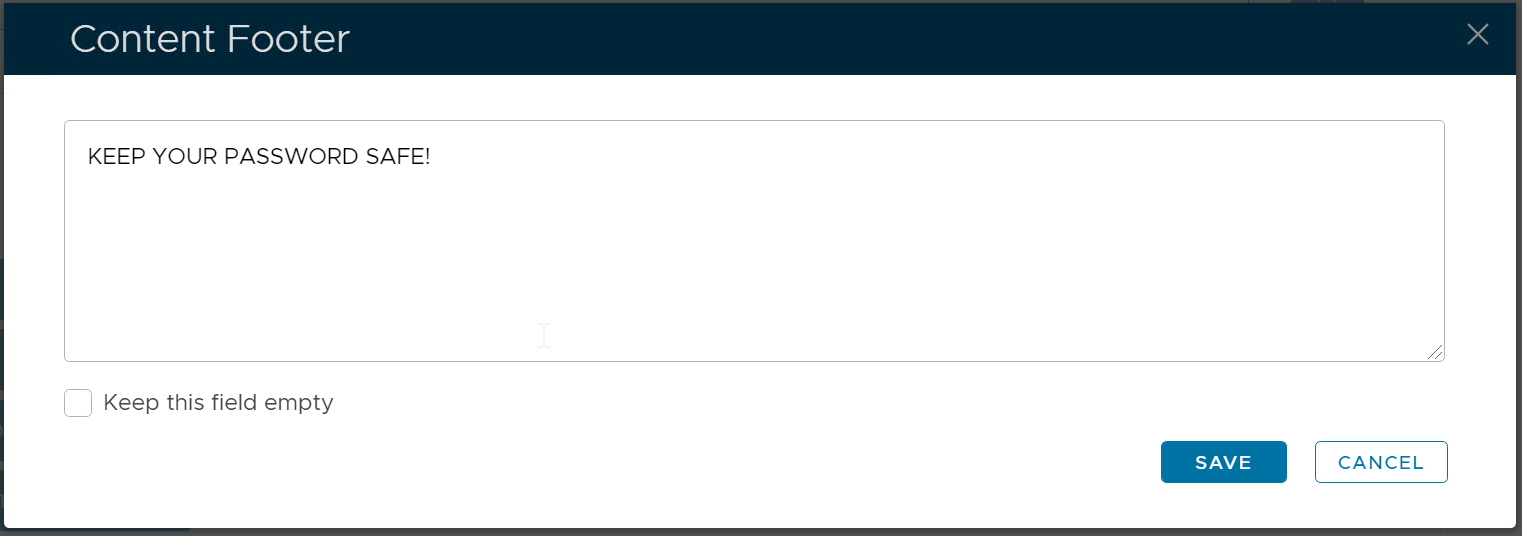
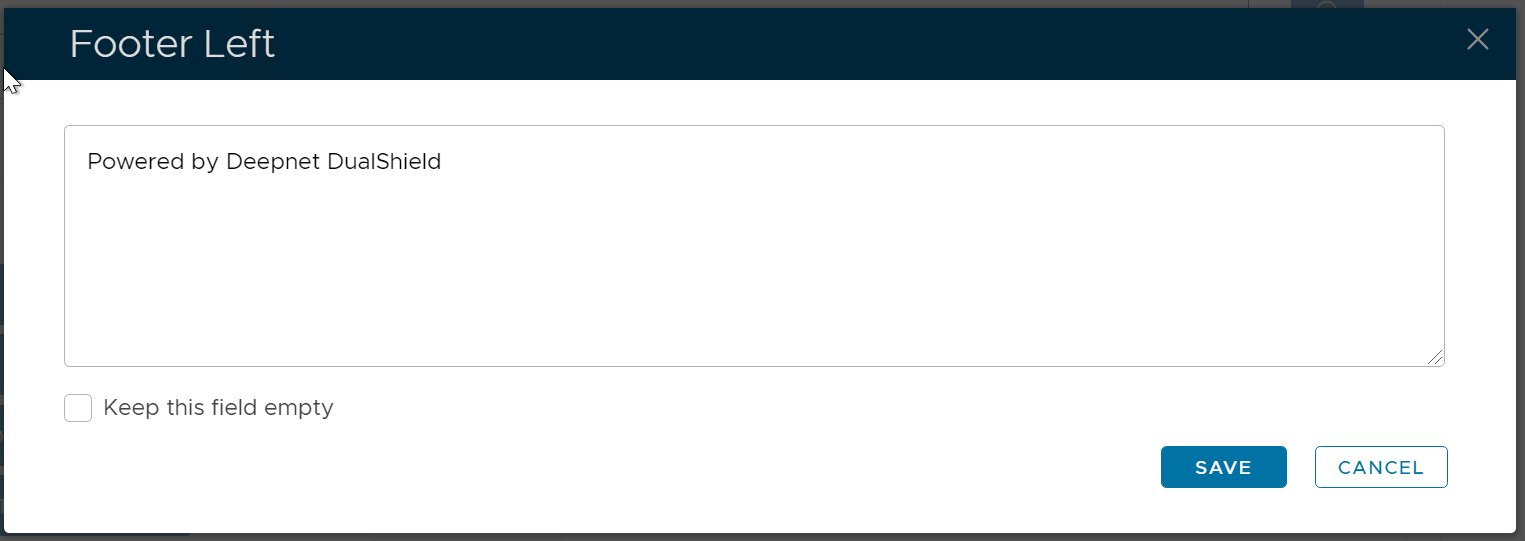
As an example we will customise the footer of our document so we click on the button "Footer Middle";

If we want to customise this section we need to uncheck the field "Keep this field empty", then in the text box we supply the content that will be displayed in this section of the web page..
The content can either be in plain text, or text in html form (for example we could add "<a href="http://das06.deepnet2fa.com:8076/drp" >password reset</a>" if we wanted to add a link to the password reset module)
Once the customised content has been entered click "Save", and repeat this process for any other sections you need to customise.
When you have completed entering your customisations the changes can be implemented by clicking on the checkbox prompted "Enabled:"

Now complete the configuration is saved by click on the "Save" button.
Testing the customised web portals
...
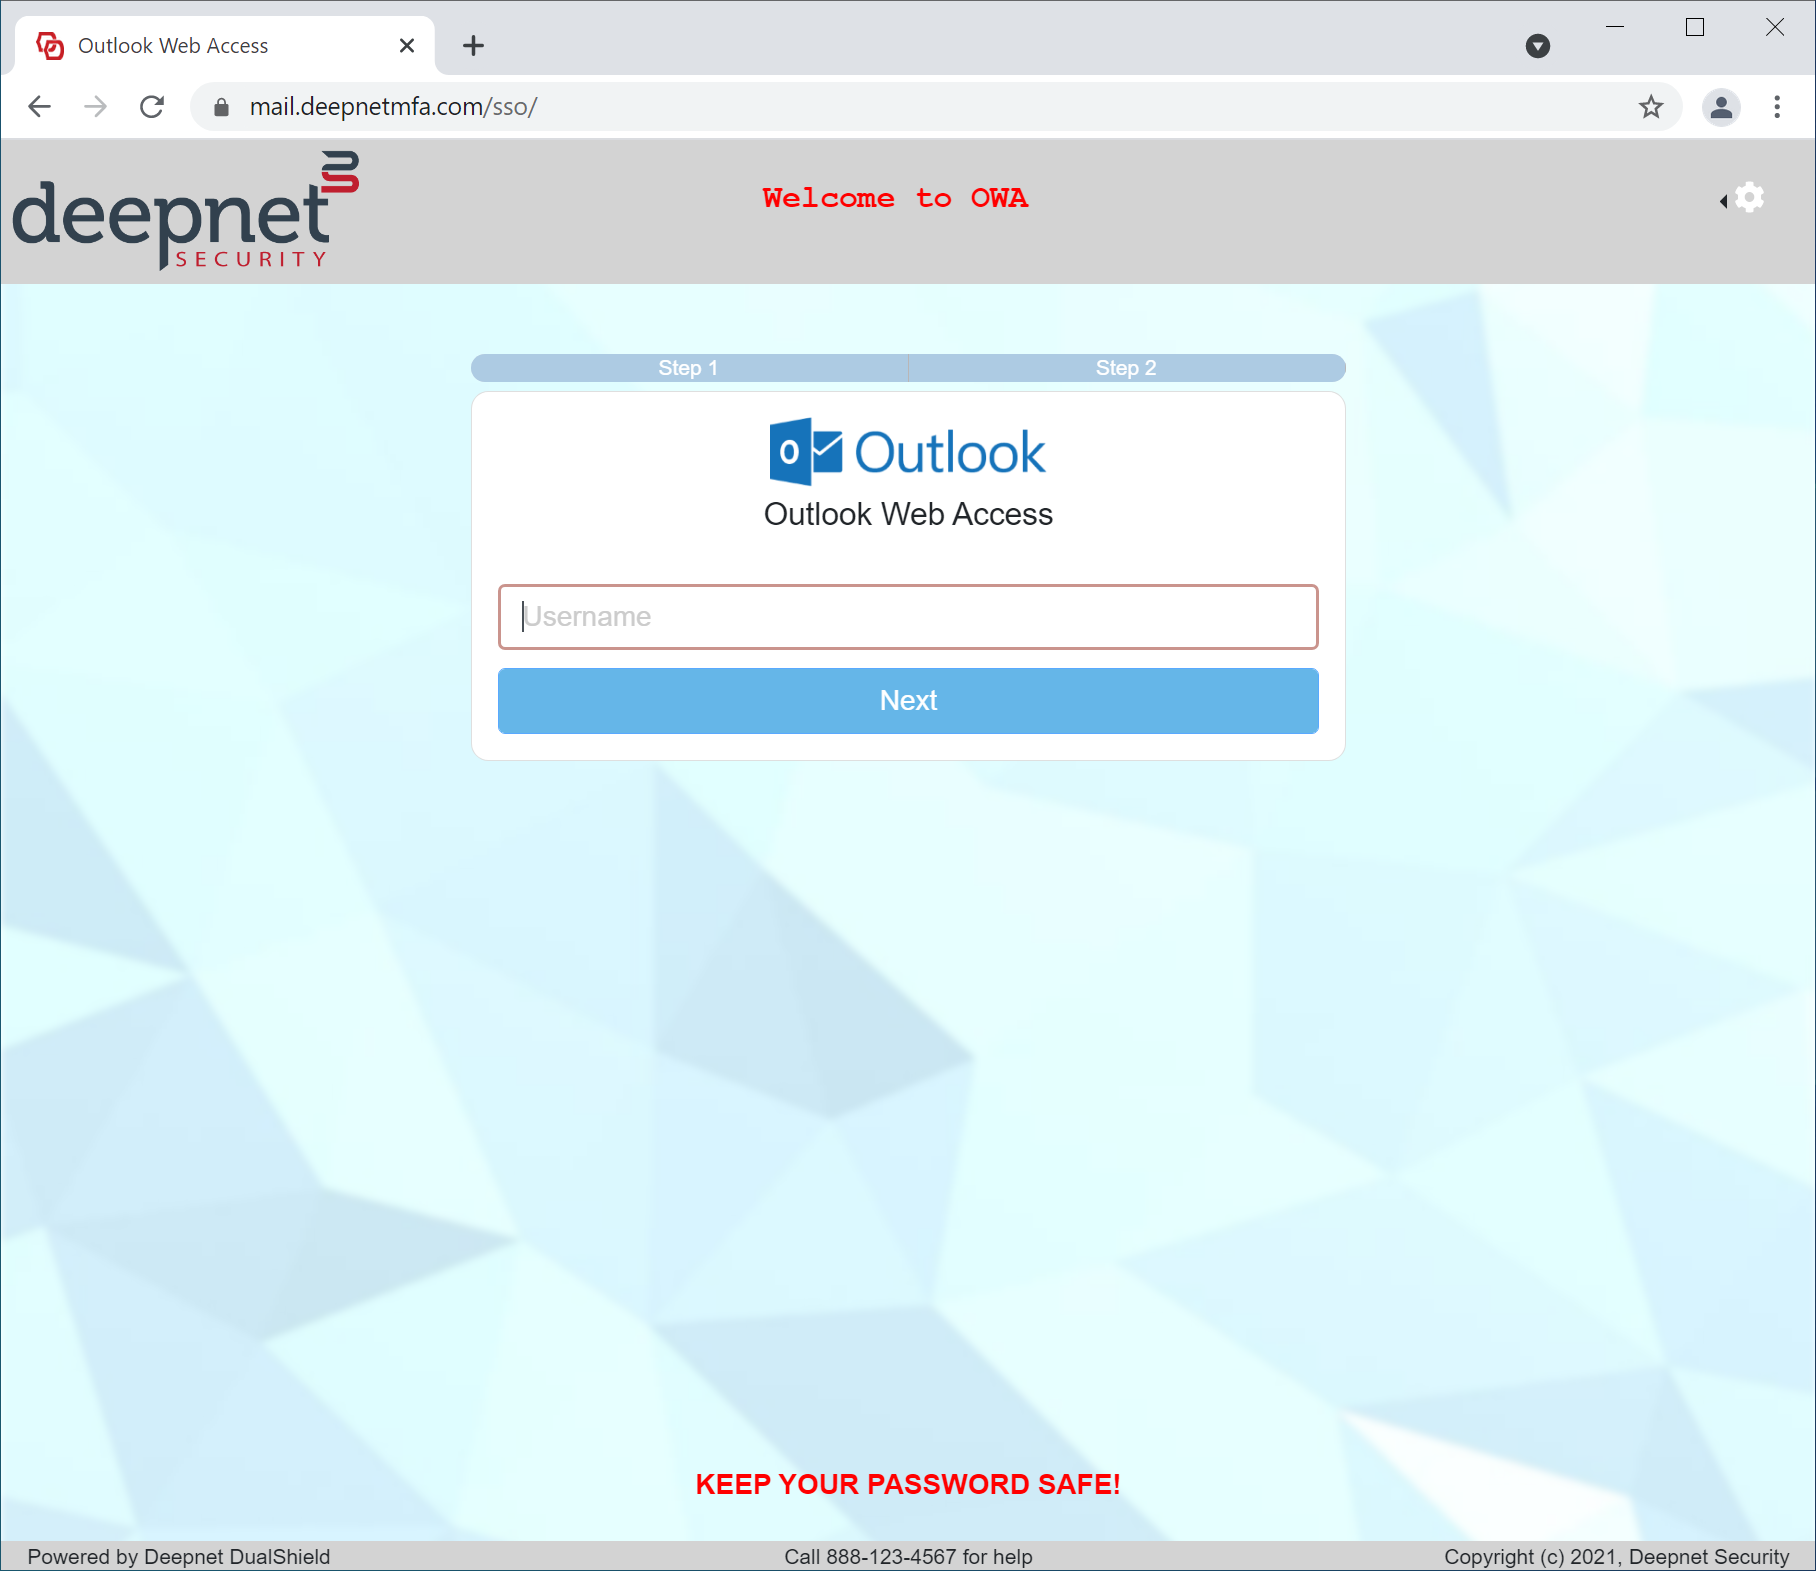
Portals, use the SSO server for user authentication. The SSO user interface can be customised with your own branding images and text.
The UI customisation is done on the application level. Every application can have its own look and feel.
Application Name & Logo
The first step in UI customisation is to set the application's name and logo.

You can also provide a description and message for the application, if you wish.
User Interface
To customise the rest of the UI, navigate to "Customisation | User Interface"

Click the "Create" button to create a new customisation:

| Field | Description | Example |
|---|---|---|
| Name | Enter a descriptive name | Outlook Web Interface |
| Customisation Type |
| SSO Server |
| Agents | select the agents on which the applications are published | Single Sign-On Server |
| Applications | select the applications to be customised | Outlook Web Interface |

Now, you can customize any element in the body content. See the example below:
|
|
|
|
| Header Right |
Content Header Top | ||
| ||
| ||
| ||
|
|
|


| Code Block | ||||
|---|---|---|---|---|
| ||||
.page-header {
background-color: lightgray !important;
}

.page-header-image {
width: 200px;
max-height: 200px;
}

.page-header-middle {
font-weight: bold;
color: red;
}

.content-footer {
margin-bottom:20px;
font-weight: bold;
color: red;
}

.page-footer {
background-color: lightgray;
font-size: 12px;
}
|
User Experience
| After Customisation | Before Customisation |
|---|---|
|
|